Search This Blog

Wednesday, November 26, 2014

Christmas/winter nail art #1

Hello my dearest nail art friends, how are you today?
Although I'm not at my Christmas/winter mood yet , I'll be showing you that kind of a mani today.
I received two GITD polishes from Parrot Polish that are perfect for this types of manicure so I just had to do it :D


As you probably already know, I love Parrot Polish I think they're actually my favorite indie nail polish brand =) 
I own quite few of their polishes and if you're interested you can see swatches in my previous posts!
  

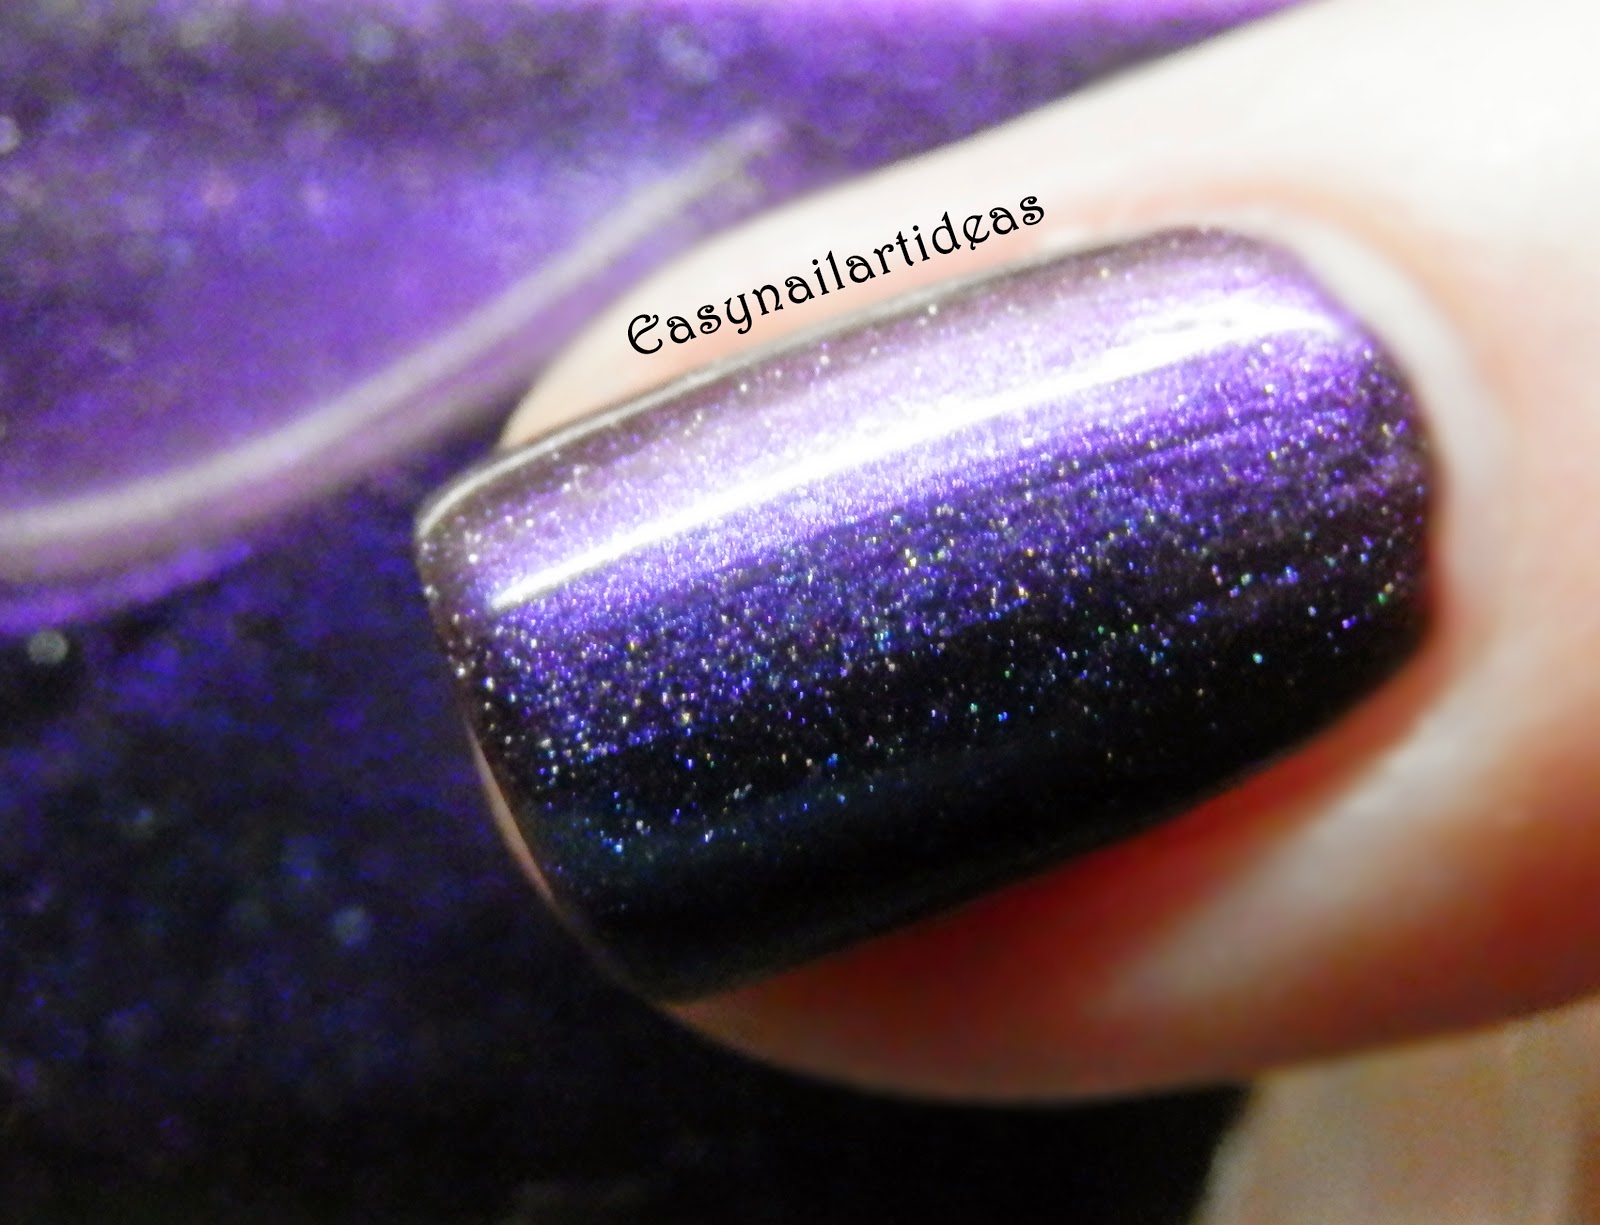
Santa Glow - is a red cream with a coral undertone. Formula is perfect, amazingly smooth and opaque in ONE coat. I think this polish has the best formula from all the polishes I've ever tried!
Can't get better than this. It glows intense red and as the name says - it's perfect for this time of the year =) 


Grinch Glow - green polish with gold shimmer also perfect color wise for this time of the year. This one doesn't have as perfect formula as previous one, but its still good and manageable.
First coat is a bit streaky and patchy but the second one even things out. So 2 coats is all you'll need! Glows green!
Both polishes dries quickly  
  

Christmas tree is actually nail vinyl from Svenja's Nailart, find it HERE. She's a German nail artist that makes some amazing nail decals. She has all kind of different ones on her SHOP!
This ones retails for 3,60 $


Overall, I love the polishes and my Christmas tree vinyls, they are must have for this time of the year! If you're in search of red polish then definitely buy this one bc the formula is divine!!!!


Parrot Polish has a sale right now buy 3 get 1 free + free worldwide shipping!!! 

Thank you for reading, don't forget to find me on

Tuesday, November 18, 2014

LEAVES MATTE NAIL ART

Although there are a lot of winter manis out there I'm still in my fall mood so today, I'm gonna show you another fall themed nail art.


For the base I've used Vino tinto ( italian for dyed wine)  by Catrice, it's actually dark brownish polish with burgundy/red undertone, in pictures is more dark blue, idk why :/ 
I think it can be good alternative to black polish if you want dark nails but doesn't really like black look! 

For the leaves I've used acrylic paint because it's a lot more easier to clean brushes afterwards than when using polish!

I love the roses in the background =) do you?

 This is a nail art that requests a bit more time and patience, but still its not so hard that requests any special skills!!


 I almost forgot to mention that I've used O.P.I's Matte Top coat for this look!

What do you think? Did you like it?

Thank you for reading, don't forget to find me on

Till the next time xoxo    


Monday, November 17, 2014

Simple strips nail art

Hi guys, how are you doing? 
I decided to share with you a very simple and basic nail art that I did few days ago.


For the base:
 O.P.I - Alpine snow

For the stripes:
Silver striper nail polish - Look by Bipa, 
that's the only striper I have so I used nail striping brush (REVIEW) for other 2 color, which are:
Essie - Flawless (REVIEW)
China Glaze - For Audrey 

 This is basic nail art that I think everyone can do, but it's also really pretty and effective so you can do it even if you're not a beginner!
Also you can use all kinds of colors for this!


 These are the brushes that I've used. I bought them on eBay for like 1$ and I think they're essential for any nail art lover. I did a review while back so you can check out that HERE!!


I quite like how it turned  out, do you?

Thank you for reading, don't forget to find me on

Till the next time xoxo   


Friday, November 14, 2014

Make Your Own Nail Wraps/Decals

Hello my polished friends =) hope you're doing great!! 
I posted this mani few days ago on my Facebook page and some of you said you want to know how I did it so here it is =) .. Just for you :* 


I saw this technique a long ago from YouTube nail artist Meliney but I was lazy to try it till now :/ 

Let me first tell you what I used :  

Gold Silk by Parrot Polish on my thumb, index and pinky finger (REVIEW)
Blanc by Essie on middle and ring finger (REVIEW)
 Stamper and 
Scraper (REVIEW)
Stamping plate - MoYou London Pro collection 08 (REVIEW
Good to Go! Fast drying top coat by Essie 


 Basically, I did everything that you normally do when you do stamping: apply polish on the desired image on the plate, scrape the excess polish with the scraper, press the stamper onto the image so it transfer completely from plate to stamper.
Now (this part is different) I filled the design with different polish colors (green,orange,dark pink), using nail art brush, on the stamper!! You don't transfer the image onto your nail jet!
When I filled the image, I applied top coat over it and let it dry for about 30 min if you apply fast drying top coat!!
After the image on the stamper dries, you have to take tweezers and gently separate it from the stamper and transfer it onto the nail. Make sure the base color is still wet so the image can stick to it (or add a coat of top coat on the base color)!! 
After you place and set your decal add some top coat over because it smoothes everything out!

Don't worry if the image is bigger than your nail, just put some acetone or nail polish remover on  Q-tip or brush and remove it. Decal is made of polish so it come off easily!! 

And that's it, its very easy and allows you to have perfect design!


Usually when I do stamping I can't transfer entire image on my nail, especially if my nails are longer, so this is the perfect way I get the perfect design on my entire nail :D

I hope this post helps you to create beautiful designs =) 
I would love to see your work, so please tag me on Facebook or Instagram  =)

Thank you for reading, don't forget to find me on
 
Till the next time xoxo  

Wednesday, November 12, 2014

Feathery Fact by Catrice


Hi guys hope you're doing great =)
I have this beauty for few weeks and I'm planing on reviewing it since then.
It's a Feathery Top Coat from Catrice's Limited Edition "Feathered Fall" for September/November 2014.
This collection has some amazing products and colors, and it's in stores now. You can take a look on entire collection HERE!

these are all the polishes from the collection - source is Google
Feathery Fact (last in the photo above) contains ultra fine metallic, green, silver - opalescent particles that create a feathery look on the nails in transparent base!

with matte top coat


I've used it over Hrvatska Ljubav by Parrot Polish (REVIEW) and I loved the look.. I think that this two polishes compliment each other well.


I also combined matte and regular top coat to create this: 


 Matte top coat make the particles from Feathery Fact stand out more, I quite like it!!

Overall I really liked this top coat, it's really pretty and can be layered over variety of colors. It retails for approximately $4 which is quite affordable!

Thank you for reading, don't forget to find me on
 
Till the next time xoxo 


Monday, November 10, 2014

O.P.I - I Saw...U Saw...We Saw...Warsaw + nail art


most recent stamping adventure =)
Hello my friends =) hope you're doing great!!  On this rainy Croatian day I decided to review an oldie but goody by O.P.I! I bought this polish I think in June for 4 euros (it was on sale 70% off) but since I like more of a bright/neon polishes in summer I didn't really use this one till now!! 
I love this polish so much that I decided to write a post just for it :D

 I Saw...U Saw...We Saw...Warsaw (I love the name) is a dark blue creme, opaque in 2 easy coats, dries quickly with nice shine!
It's part of O.P.I's Euro Central Collection for spring/summer 2013., although it's more of a fall/winter color for me (at this point)
I've done 3 nail arts so far using this polish, 2 of them you already saw if you're following my blog on regular basis... 

Dry marble technique - TUTORIAL
TUTORIAL

I absolutely love this polish from color to formula to finish, it's absolutely perfect for me. And to think just few months ago I was telling that blue polishes looks weird on my nails and I didn't wear them lol 

For this nail art, I've used stamping plate QA65 from bornprettystore (READ MORE ABOUT THE PLATE HERE!


Discount code for BornPrettyStore - HE10K31 

What do you think of this polish? Do you own it?
Did you like my nail art? 

Don't forget to find me on: 

Thank you for reading my blog :*
Till the next time xoxo  

Friday, November 7, 2014

HRVATSKI LJUBAV by Parrot Polish

 Hi guys, here I am again with the most amazing polish I've tried this fall.


It's called Hrvatski Ljubav or Croatian Love and it's part of the International Love collection by Parrot Polish! The collection consist of 13 amazing chrome polishes and if you're interested you can find reviews HERE!!

Hrvatski Ljubav is so unique, it shifts from black, green to plum, purple and in some lightnings even blue!! Like my friend Moni's Mani said it's like having peacock on your nails, just gorgeous!!

gorgeous black and smaragd green 
plum/purple! Sorry for the blurry photo, it's hard to take all the shades 


yap this is the same polish :D 

 I'm so impressed with this polish that I had to show you all these photos =)

As for the FORMULA it's bit on the tick side but that doesn't effect the application, I did 2 coats   for the photos bellow and no top coat. It has most amazing glossy finish so top coat is not even necessary!
 It dries quiet fast sorta like regular O.P.I creme polishes.

Overall I'm so impressed not just with the color but with everything in general! Perfect fall/winter color, amazing formula and free shipping, what can be better then that ;)

All the polishes from international love collection retails for $ 12,00 and the shipping is free worldwide! 

Thank you for reading and I hope you like the polish and my swatches, I really tried hard to capture all the transitions =)

There will be more photos in my other social medias so don't forget to find me there : 

till the next time xoxo 


Saturday, November 1, 2014

MMS - Halloween

The theme for this weeks Matching Manicure Sunday is Halloween! 
I  did 3 designs so far that can be used for Halloween ( FIRST, SECOND, THIRD) and I saved my favorite for last =)

 I've already posted the photos of this design on my INSTAGRAM and FACEBOOK PAGE accounts because I was so happy how it turned out and I couldn't wait lol. But I wanted this particular design to be a part of MMS so I'm publishing the blog post now!

The design I'm talking about is Mr Frankenstein inspired nail art that glows in the dark :D


For this design I used :
O.P.I - Alpine Snow as a base
Parrot Polish - Glow Yuk, 2 coats (REVIEW)
Black acrylic paint 
Nail art brush
Dotting tool (for the eyes)

This was probably the quickest Halloween design I did this year. It really takes minimum skills and time but the results are in my opinion stunning, especially in the dark!!
I highly recommend this glow in the dark polish, there's also other colors to chose from and Parrot Polish also offers glow in the dark top coats that can be applied on any other polish or nail art without changing the color of it!! The best part is that they offer FREE WORLDWIDE SHIPPING, I think that's amazing because Indie polish brands usually have such high shipping costs that makes buying practically impossible for many international ladies including myself!!


 So what do you guys think? Do you like this one as much as I do? Or you have some other favorite? 


Here's a little collage of all the 4 designs :D 

Thank you for reading my blog, hope you'll continue to do that in the future :D

Don't forget to find  me on Bloglovin', InstagramFacebook and Twitter

Check out what other girls did on the links bellow:   

till the next time xoxo