Search This Blog

Showing posts with label parrot polish. Show all posts

Friday, July 10, 2015

Summer design + MoYou Nails stamping plates 133 and 70

Hello nail lovers =) 
Today I'll show you a simple gradient design and a little summer stamping I did over it!


Pozdrav noktoljupci =)
Danas ću vam pokazati jedan jednostavni gradijent preko kojeg sam ispečatirala nekoliko ljetnih sličica!

 
For this design I've used / Koristila sam:

  • MoYou Nails summer stamping plates number 133 and 70
  • Emerald Sand, Blue Macaw and Silver Dacota by Parrot Polish for the gradient
  • White stamping polish by Essence and My Boyfriend Scales Walls by O.P.I for stamping
  • and Good To Go by Essie (top coat) to seal the design!


This is really easy to do, the only down side of this design is a lot of cleaning up, but it's worth it =)

Ovo je stvarno jednostavno za napraviti, jedina mana ovog dizajna je što zahtijeva puno čišćenja kožice nakon gradijenta, ali isplati se  =)


I love the plates from MoYou Nails. They're high quality and has the most gorgeous images!

Obožavam pločice od MoYou Nails-a. Jako su kvalitetne i imaju divne sličice!


These are the ones I've used in this design. 
I won them on a spring competition that MoYou Nails had couple months ago :D lucky me lol
They retails for £4.99 at the moment and you can get them HERE!
 
Ove sam pločice koristila za dizajn.
Osvojila sam ih na MoYou Nails proljetnom natjecanju :D koja sretnica lol 
Trenutno se prodaju za £4.99 i možete ih pronaći OVDJE!


I did entire blog post about gorgeous Parrot Polish lacquers I've used in this design, so if you want to know more about them just click HERE =)

Napisala sam cijeli post o ovim divnim Parrot Polish lakovima pa ako želite znati više o njima KLIK TU =)
 
To learn how I do the gradient designs (if you don't already know) click HERE ;)

Ako vas zanima kako napravim gradijent KLIK TU ;)

 Hvala na čitanju =) Nadam se da vam je post bio interesantan :* :*

 
Thank you for reading =) 
I hope you liked my post and found it interesting!

Till the next post :* :*

You can find me also on  


Saturday, January 17, 2015

MoYou Nails stamping plates 112 & 115

Hello my nail lovers =) Hope you're doing great!
I started working 2 days ago, so I hope I'll have the time to write as many posts as before!
At the beginning  of this week I received a package from MoYou Nails containing 5 stamping plates, stamper, scraper and summer 2014 catalogue. 
It'll be better if it was summer 2015 catalogue but who cares about that when you have 5 perfect stamping plates :D 
I've been reading a lot of great reviews about them in the past so I'm soooo happy to be able to try them myself. 
I want to thank MoYou Nails for their trust in me and for giving me the opportunity to do this!! :*


Pozdrav noktoljupci =) Nadam se da ste super!
Nadam se da ću uspijeti nastaviti pisati barem onoliko postova koliko i prije, 
 s obzirom da sam počela raditi! 
Početkom tjedna dobila sam paketić od MoYou Nails sa 5  pločica za pečatiranje, pečatom, strugalicom i katalogom ljeto 2014.
Bilo bi bolje da je katalog za ljeto 2015. ali koga briga za to pored 5 savršenih pločica :D
Čitala sam puno dobrih recenzija o ovim pločicama pa sam jakoooo sretna da imam priliku ih i sama isprobati.
Željela bih zahvaliti MoYou London što su ukazali povjerenje u mene i omogućili mi da isprobam njihove proizvode!! :* 


Stamping plate 112 


As you can tell this plate is perfect for Valentines day nail art!
Although the images have some quite small details, the plate is so well done that even the smallest ones transfer to the nail completely.

Kao što možete primjetiti ova je pločica savršena za Valentinovske manikure!
Iako sličice imaju dosta malih detalja, pločica je jako dobro napravljena tako da se i najmanji detalji prenesu na nokat.


I've painted my nails with 2 coats of 2% Milk by Wet'N'Wild, then I've done and glitter gradient using Purple Blast by Parrot Polish. When that was completely dry I stamped the images from plate 112.

Najprije sam nalakirala nokte sa 2 sloja 2% Milk od Wet'N'Wild, nakon toga sam napravila gradient sa šljokicama Purple Blast od Parrot Polish. Kad se to skroz osušilo ispečatirala sam sličice sa pločice 112.


 I really like how this design turned out to be =)
I took so many photos of it so I'm sorry but I have to post at least 10% of them lol

Jako mi se sviđa kako je ispala ova manikura =)
Uslikala sam toliko slika da sam morala podijeliti barem 10% sa vama lol


For me this plate is sorta like a motivation board with some beautiful words. Don't have much to say about it except that it's great quality just like the previous one and the images transfer perfectly!!

Za mene je ova pločica kao "motivacijska ploča" sa nekoliko lijepih riječi. Nemam puno za dodati osima da je odlične kvalitete kao i ona predhodna, i sličice se prenesu savršeno na nokat!!


 Overall: The quality is great, images are beautiful and I can't wait to use them again =)
They retails for £4.99 but they're often on discount!!
You can check them out HERE!!

Sve u svemu: kvaliteta je super, sličice su divne i jedva čekam da ih opet koristim =)
Prodaju se za £4.99 ali su često na popustu!!
Možete ih naći OVDJE!!


Thank you for reading, don't forget to find me on
 Till the next time xoxo  

Hvala na čitanju, ne zaboravite me naći i na
Do slijedećeg puta xoxo 


Tuesday, January 13, 2015

Stripes - Pruge

Hello my nail lovers =) 
This Sunday's assignment for the Matching Manicures are STRIPES, and this is what I've done:

Pozdrav noktoljupci =)
Ove nedjelje zadatak za usklađene manikure su PRUGE, i evo što sam ja napravila:


This design was inspired by soNailicious, great site with great tutorials!!

Ovaj je dizajn inspiriran sa soNailicious, odličnom stranicom sa super tutorialima!! 


For this design I've used / Koristila sam:

Parrot Polish - Santa Glow 
(red glow in the dark polish / crveni lak koji svjetli u mraku

Parrot Polish - Grinch Glow
( shimmery green glow in the dark polish / svjetlucavi zeleni lak koji svjetli u mraku)

Essence - The Green & The Grudge
(dark green / tamno zeleni)

O.P.I - Skyfall
( dark red / tamno crveni)

White and black nail striper


As I sad these 2 polishes glow in the dark =)

Kao što sam rekla ova 2 laka svijetle u mraku =)


 What do you think? 
I love these GITD polishes :D

I kako vam se čini?
Ja obožavam ove svjetleće lakove :D

You can win these or any other 3 Parrot Polish lacquers of your choice on my INTERNATIONAL GIVEAWAY! To enter click HERE!!

Možete osvojiti ove ili bilo koja druga 3 laka Parrot Polish-a po vašem izboru u mom INTERNACIONALNOM DARIVANJU! Za sudjelovanje kliknite OVDJE!!

Thank you for reading, don't forget to find me on
 Till the next time xoxo  

Hvala na čitanju, ne zaboravite me naći i na


Do slijedećeg puta xoxo  


Check out what other girls did Pogledajte što su ostale cure napravile :


Friday, December 12, 2014

Santa nail art using water decals

Hello my nail art lovers :D , how are you today? Any snow in your countries? 
Yesterday I made another easy Christmas / Santa nail art that doesn't request any special nail art skills.

Pozdrav noktoljupci :D kako ste mi danas? Ima li što snijega kod vas?
Jučer sam napravila još jedan Božićno/zimski dizajn za kojeg vam ne trebaju nikakve posebne vještine, jako je jednostavan za napravit!


Of course it's a red - green combination, what else :D and it glows in the dark!!

Naravno, kombinacija je crveno - zelena, a ča drugo :D i svijetli u mrakuuuu!


What did I use / Što sam koristila:

RED is / CRVENI je ; Parrot Polish - Santa Glow  (review/recenzija)

GREEN is / ZELENI je ; Parrot Polish - Grinch Glow (review/recenzija)

GLITTERY TOP COAT is /  ŠLJOKIČASTI TOP COAT je ; Essence - Space Queen

and WATER DECALS / i VODENE NALJEPNICE 


 I love this polishes that glows in the dark, so amazing!!

Obožavam  ove lakove koji svijetle u mraku, zakon su!!
  

I've got this water decals from Born Pretty Store to review, and I can honestly say they're the best ones I've tried so far. I believe that's because they're made on a thin transparent foil that when applied on the nail stick perfectly and the edge of the decal is not even visible (you can see on the photo bellow). 
I've tried few different  water decals brands but they were all made on ticker foil and you have to press them hard, for like a minute or so, before it's applied on the nail and the line remains visible even after applying top coat (sometimes even 2 coats)!

Dobila sam ove naljepnice od  Born Pretty Store za recenziju, i mogu iskreno reći da su najbolje naljepnice koje sam do sada probala. Vjerujem da je to zbog toga što su rađene na tankoj prozirnoj foliji koja se, kada se aplicira na nokat savršeno zalijepi i rub naljepnice postaje skroz nevidljiv ( to se vidi i na slici ispod).
Probala sam nekoliko naljepnica i od drugih brendova ali sve su bile rađene na debljim folijama koje je trebalo stisnuti i držati tako cca minutu da bi se zalijepile za nokat i svejedno je rub ostao vidljiv pa čak i nakon top coata ( nekad i 2 sloja)!


This particular Christmas / Santa decals are BLE1763 and they're on the discount now for only 0,99$. They were 2,86$ when I got them! 
I didn't get only these ones because I've choose the entire sheet that has 11 patterns and its + $ 4,00 on the original price. So you can get 11 diferent patterns for $4,99 now! 
Don't forget about 10% discount code HE10K31 if you decide to buy anything!

Ove Djed / Božićne  naljepnice su BLE1763 i sada su na popustu za samo $0,99. Bile su 2,89$ kad sam ih ja odabrala!
Nisam uzela samo ove, već sam izabrala cijeli list na kojem ima 11 različitih uzoraka za dodatak od $ 4,00 na početnu cijenu. Tako da dobijete 11 uzoraka za $ 4,99 sad!
Ne zaboravite na kod za 10% popusta HE10K31 ako odlučite kupiti nešto!


 Thank you for reading, don't forget to find me on

 Till the next time xoxo  


Hvala na čitanju, ne zaboravite me naći i na

 Do sljedećeg puta xoxo


Friday, November 14, 2014

Make Your Own Nail Wraps/Decals

Hello my polished friends =) hope you're doing great!! 
I posted this mani few days ago on my Facebook page and some of you said you want to know how I did it so here it is =) .. Just for you :* 


I saw this technique a long ago from YouTube nail artist Meliney but I was lazy to try it till now :/ 

Let me first tell you what I used :  

Gold Silk by Parrot Polish on my thumb, index and pinky finger (REVIEW)
Blanc by Essie on middle and ring finger (REVIEW)
 Stamper and 
Scraper (REVIEW)
Stamping plate - MoYou London Pro collection 08 (REVIEW
Good to Go! Fast drying top coat by Essie 


 Basically, I did everything that you normally do when you do stamping: apply polish on the desired image on the plate, scrape the excess polish with the scraper, press the stamper onto the image so it transfer completely from plate to stamper.
Now (this part is different) I filled the design with different polish colors (green,orange,dark pink), using nail art brush, on the stamper!! You don't transfer the image onto your nail jet!
When I filled the image, I applied top coat over it and let it dry for about 30 min if you apply fast drying top coat!!
After the image on the stamper dries, you have to take tweezers and gently separate it from the stamper and transfer it onto the nail. Make sure the base color is still wet so the image can stick to it (or add a coat of top coat on the base color)!! 
After you place and set your decal add some top coat over because it smoothes everything out!

Don't worry if the image is bigger than your nail, just put some acetone or nail polish remover on  Q-tip or brush and remove it. Decal is made of polish so it come off easily!! 

And that's it, its very easy and allows you to have perfect design!


Usually when I do stamping I can't transfer entire image on my nail, especially if my nails are longer, so this is the perfect way I get the perfect design on my entire nail :D

I hope this post helps you to create beautiful designs =) 
I would love to see your work, so please tag me on Facebook or Instagram  =)

Thank you for reading, don't forget to find me on
 
Till the next time xoxo  

Wednesday, November 12, 2014

Feathery Fact by Catrice


Hi guys hope you're doing great =)
I have this beauty for few weeks and I'm planing on reviewing it since then.
It's a Feathery Top Coat from Catrice's Limited Edition "Feathered Fall" for September/November 2014.
This collection has some amazing products and colors, and it's in stores now. You can take a look on entire collection HERE!

these are all the polishes from the collection - source is Google
Feathery Fact (last in the photo above) contains ultra fine metallic, green, silver - opalescent particles that create a feathery look on the nails in transparent base!

with matte top coat


I've used it over Hrvatska Ljubav by Parrot Polish (REVIEW) and I loved the look.. I think that this two polishes compliment each other well.


I also combined matte and regular top coat to create this: 


 Matte top coat make the particles from Feathery Fact stand out more, I quite like it!!

Overall I really liked this top coat, it's really pretty and can be layered over variety of colors. It retails for approximately $4 which is quite affordable!

Thank you for reading, don't forget to find me on
 
Till the next time xoxo 


Friday, November 7, 2014

HRVATSKI LJUBAV by Parrot Polish

 Hi guys, here I am again with the most amazing polish I've tried this fall.


It's called Hrvatski Ljubav or Croatian Love and it's part of the International Love collection by Parrot Polish! The collection consist of 13 amazing chrome polishes and if you're interested you can find reviews HERE!!

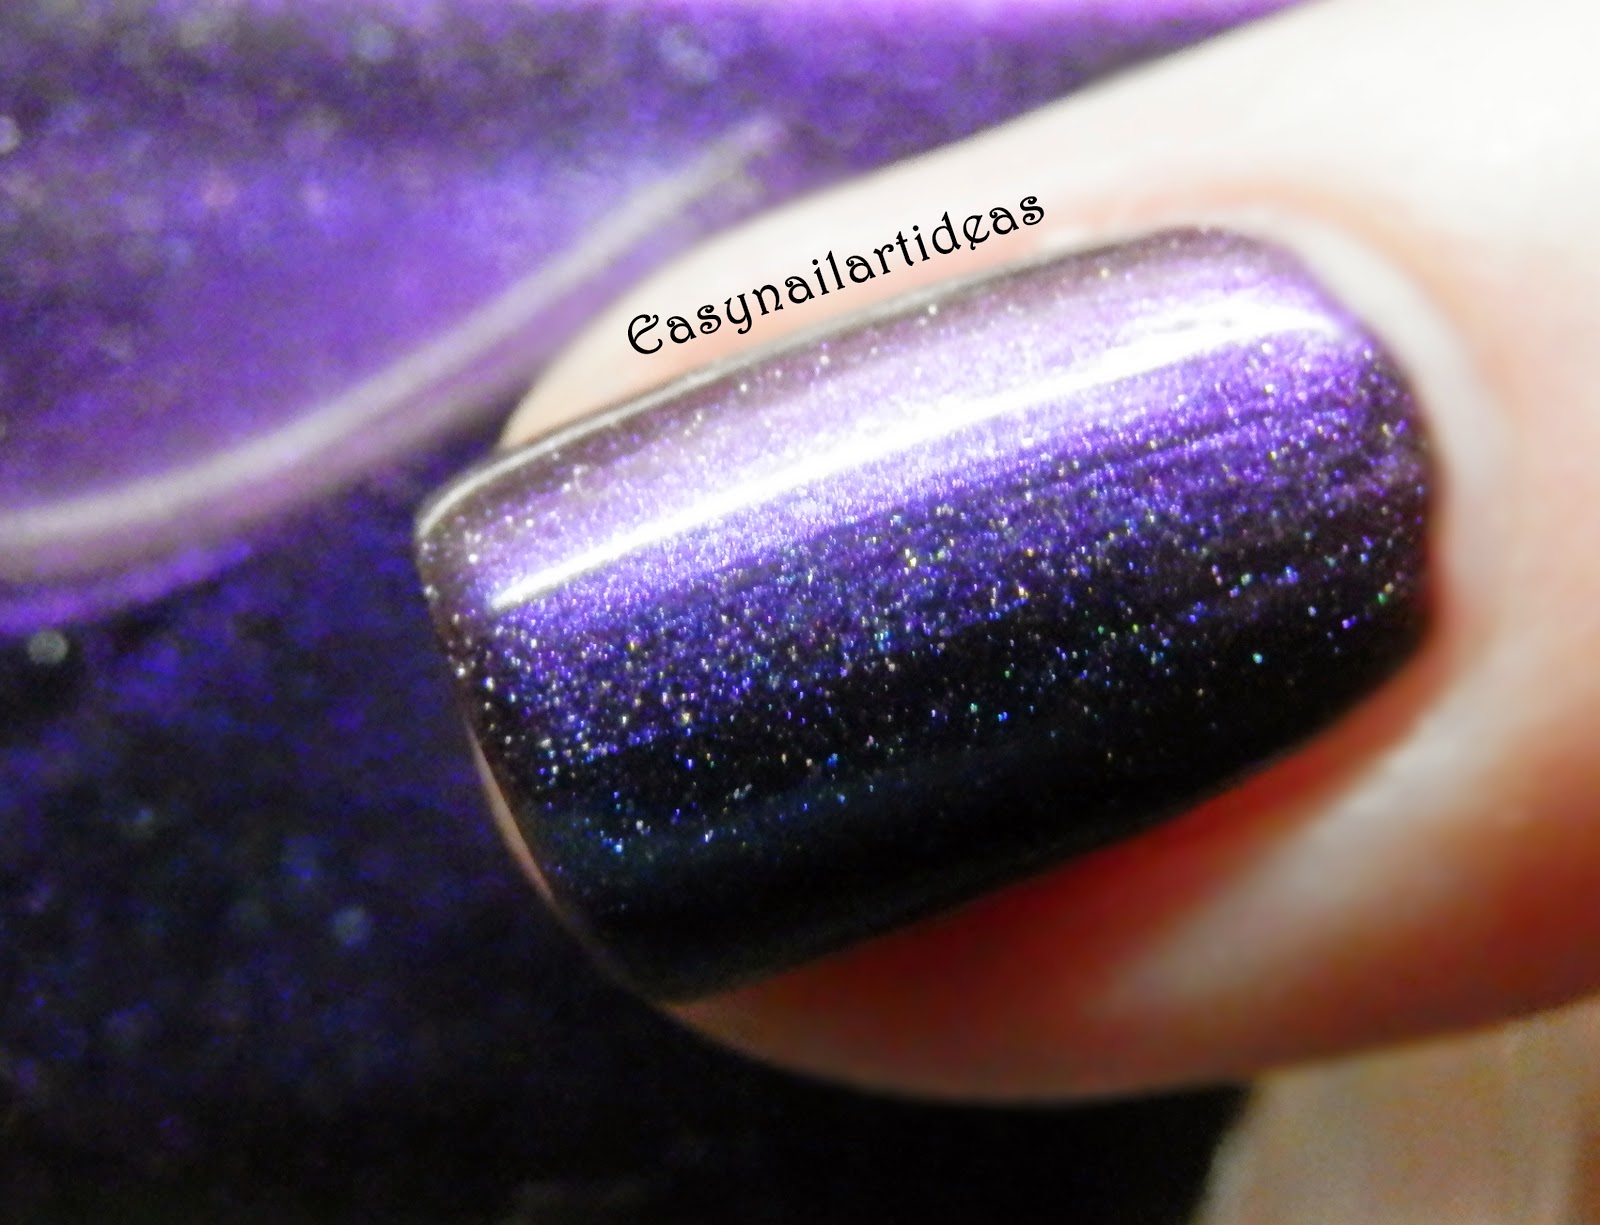
Hrvatski Ljubav is so unique, it shifts from black, green to plum, purple and in some lightnings even blue!! Like my friend Moni's Mani said it's like having peacock on your nails, just gorgeous!!

gorgeous black and smaragd green 
plum/purple! Sorry for the blurry photo, it's hard to take all the shades 


yap this is the same polish :D 

 I'm so impressed with this polish that I had to show you all these photos =)

As for the FORMULA it's bit on the tick side but that doesn't effect the application, I did 2 coats   for the photos bellow and no top coat. It has most amazing glossy finish so top coat is not even necessary!
 It dries quiet fast sorta like regular O.P.I creme polishes.

Overall I'm so impressed not just with the color but with everything in general! Perfect fall/winter color, amazing formula and free shipping, what can be better then that ;)

All the polishes from international love collection retails for $ 12,00 and the shipping is free worldwide! 

Thank you for reading and I hope you like the polish and my swatches, I really tried hard to capture all the transitions =)

There will be more photos in my other social medias so don't forget to find me there : 

till the next time xoxo