Search This Blog

Showing posts with label opi. Show all posts

Wednesday, July 22, 2015

Stamping plate Qgirl-018 by BPS

Pozdrav noktoljupci =) kako ste mi danas?
Odlučila sam pisati o jednoj divnoj maloj pločici za pečatiranje sa born pretty store-a naziva Qgirl-018.

Hello nail lovers =) How are you today?
I decided to write about pretty little stamping plate from born pretty store called Qgirl-018.


Pločica kao temu ima pleme i sličice su baš slatke.
Košta 2,99$ i možete ju naći OVDJE!
This is a tribal themed plate with some super cute images. 
It retails for 2,99$ you can find it HERE!


Evo što sam ja napravila sa njom: / Here's what I did with it:


Kao bazu sam koristila That's Hula-rious! od O.P.I, 
o njemu sam pisala u prošlom postu pa ako vas interesira 
nešto više o njemu klik OVDJE!

As a base I used That's Hula-rious! by O.P.I,
I wrote about it in my last post so if you want
to know more about it click HERE


Jako mi se sviđa ova pločica, može se iskoristini na puno raznih načina i za puno raznih manikura, i stvarno je super kvalitete!

I really liked this plate , I think it's super versatile and usable, not to mention high quality!

Ne zaboravite na 10 % popusta 
Don't forget 10% discount code =)


Hvala na čitanju =) Nadam se da vam je post bio interesantan :* :*
 
Thank you for reading =) 
I hope you liked my post and found it interesting!
Till the next post :* :*

You can find me also on  

Saturday, February 21, 2015

Welcome spring nail art =)


Hello nail lovers =) How are you today?
Although the calendar says we have to wait another month for spring to come, these past few days were like spring is already come to my town. It was beautiful sunny weather that drown me into doing some floral nail art =)
I have 2 easy, dotticure designs to show you today so let's get started :D 


Pozdrav noktoljkupci =) kako ste mi danas?
Iako kalendar govori da ćemo na proljeće čekati još mjesec dana, ovih par dana je u mom gradu bilo predivno sunčano vrijeme koje me ponukalo da napravim cvjetnu manikuru =) 
Imam vam za pokazati dvije lagane, točkaste manikure , pa krenimo :D


This manicure was inspired by Spring Bouquet Collection by Paint Shop Polish that I reviewed last weak!
Polishes are simply gorgeous and perfect for spring!
As I already mentioned I did the flowers with dotting tool, it's super easy!
I just put 5 little dots for the flower and then one in the middle ( silver )!


 Ova je manikura inspirirana kolekcijom koju sam recenzirala prošli tjedan - Spring Bouquet, Paint Shop Polish-a!
Ti lakovi su mi predivni i savršeni za proljeće!
Kako sam i prije spomenula, cvijetići su napravljeni sa točkalicom, to je stvarno lako!
Samo sam napravila pet točkica u krug i jednu u sredinu (srebrnu ) i cvjetić je tu!
 

I've used / Koristila sam :

Daisy, Hyacinth and Tulip by Paint Shop Polish (REVIEW)

Alpine Snow and My Signature Is DC by O.P.I (REVIEW)

Good To Go by Essie (Top Coat)

Small dotting tool / malenu točkalicu 

I also added Essence by Parrot Polish over and here are the results ...
Stavila sam i Essence od Parrot Polish-a preko ove manikure i evo što sam dobila ...


And now the second one... 

A sada manikura br 2 ....


I did this design a while back but just didn't post it till now... This one is bit more serious!

Ovu sam manikuru napravila pred dosta vremena ali nikako da ju objavim.. Malo je ozbiljnija!

I've used / Koristila sam:

Ski Teal We Drop, Alpine Snow and My Signature Is DC by O.P.I 

Dotting tool / točkalicu


So what do you think? Witch one you prefer?

I što mislite? Koja vam je bolja?


Thank you for reading, don't forget to find me on
 Till the next time xoxo  

Hvala na čitanju, ne zaboravite me naći i na
Do slijedećeg puta xoxo 


Monday, December 29, 2014

L'Oreal Paris - 811 Magic Croisette and Svenja's Nailart nail vynils

  
My dear nail art friends, here I am again after a little break =)
I hope you had beautiful and peaceful Christmas! 
The winter has come and my country is filled with snow, the sun is shinning today so it's beautiful =)
 Today I'll snow you beautiful blue duochrome/shimmery nail polish that I got as a gift from my BFF Marina! It's a Color Rich nail polish from L'Oreal Paris and it's a part of their L'Or electric collection! 
It comes in a small and super cute bottle with golden top that holds 5 ml of product . 

Moji dragi noktoljupci, evo me nakon kraće stanke =)
Nadam se da ste proveli predivan i miran Božić!
Zima nam je došla i naša divna Hrvatska je prekrivena snijegom, kod mene danas sija sunce pa je baš predivno =) 
 Danas ću vam pokazati divni plavi duochrome/šimerasti lak za nokte, koji sam dobila od svoje naj frendice Marine!
To je zapravo L'Oreal Paris Color Rich  lak koji je dio L'Or electric kolekcije! 
Dolazi u maloj slatkoj bočici sa zlatnim čepom, koja sadrži 5 ml proizvoda.

ONE COAT / JEDAN SLOJ
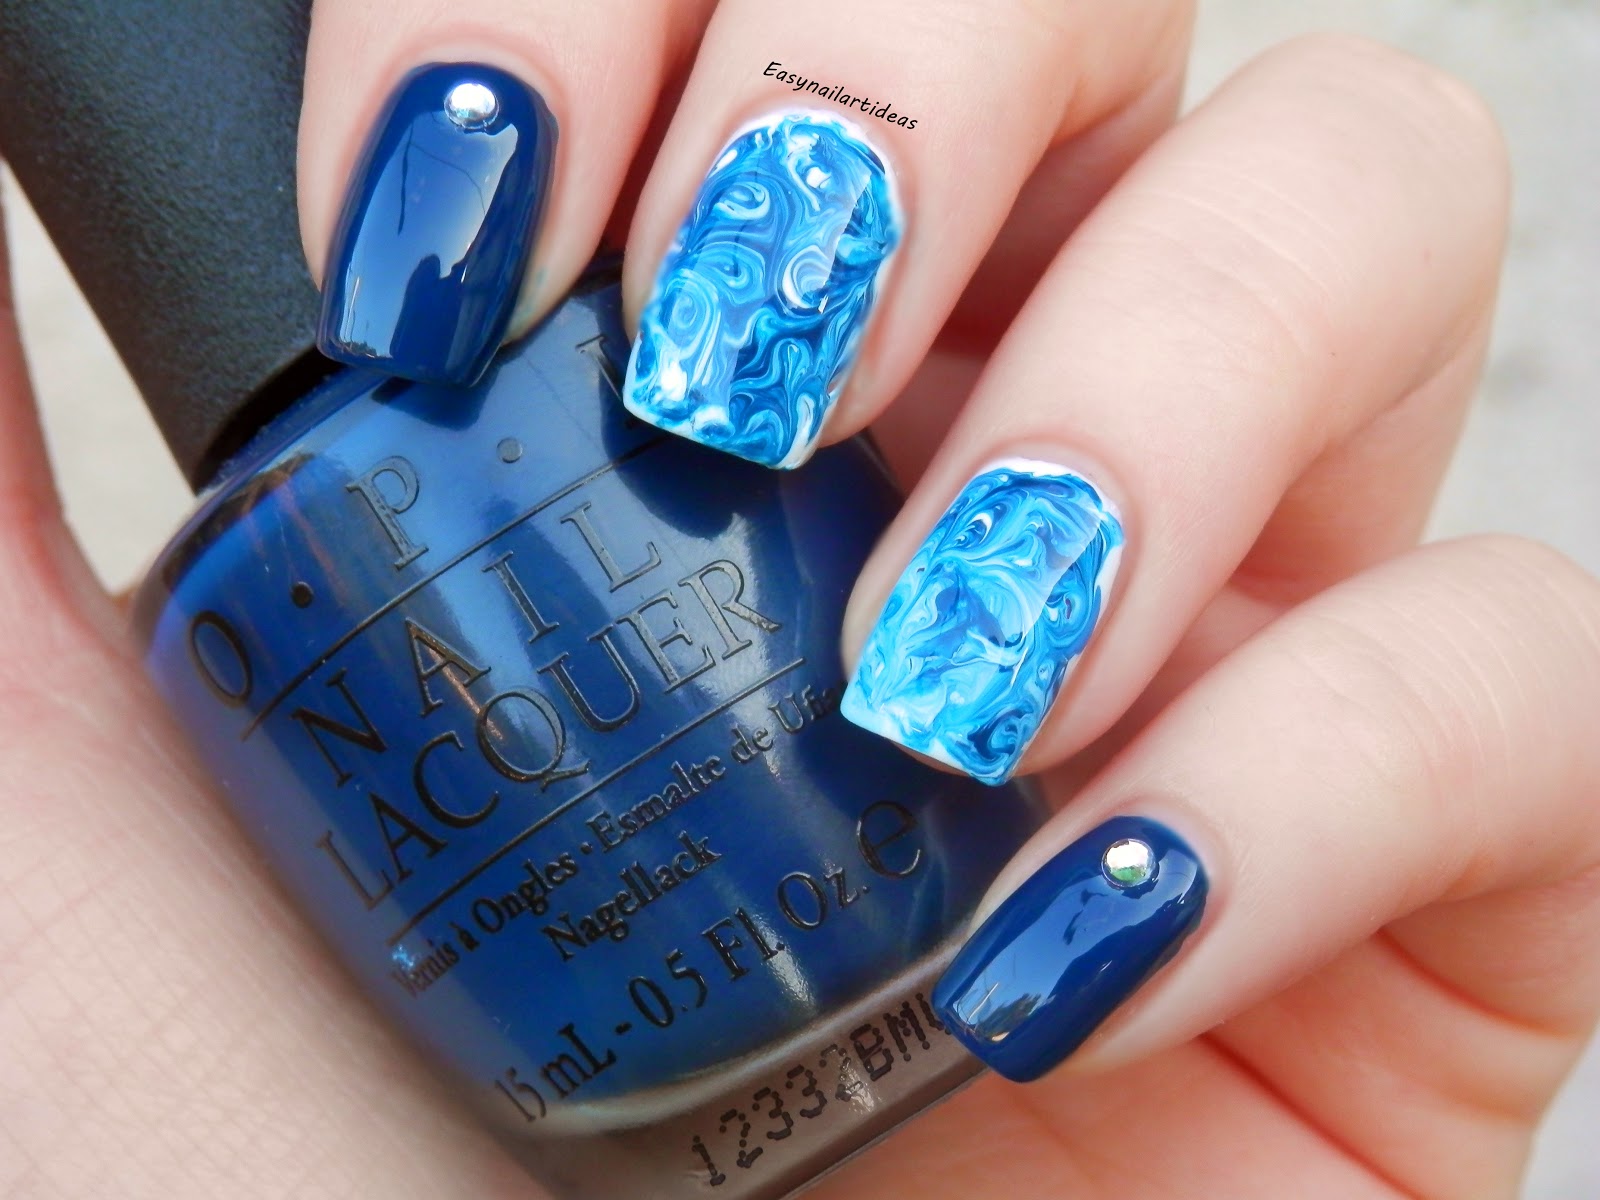
The polish is called MAGIC CROISETTE N°811. The formula is great, goes on really smooth. it's fully opaque on first coat but second coat builds up the color so it look prettier in my opinion!
It's darker blue polish with teal, green even gold shimmer that shines so beautifully on day light.
I also like the brush that is flat and wide, makes application easier and more precise!
Maybe the best thing about it is that is available in pretty much any drugstore worldwide!

Lak se zove  MAGIC CROISETTE N°811. Formula je odlična, nanosi se lijepo bez nabora.
Potpuno pokriva već sa prvim slojem ali sa drugim boja postaje intenzivnija pa je po mom mišljenju lijepše sa 2 sloja!
Tamno plave je boje sa tirkiznim, zelenim pa čak i zlatnim svjetlucavim česticama koje dođu savršeno do izražaja na danjem svijetlu.
Sviđa mi se i četkica koja je plosnata i šira pa je nanošenje lakše i preciznije!
Možda i najbolja stvar je što je dostupan u gotovo svakoj drogeriji širom svijeta!

ONE COAT / JEDAN SLOJ
 
2 COATS / 2 SLOJA     
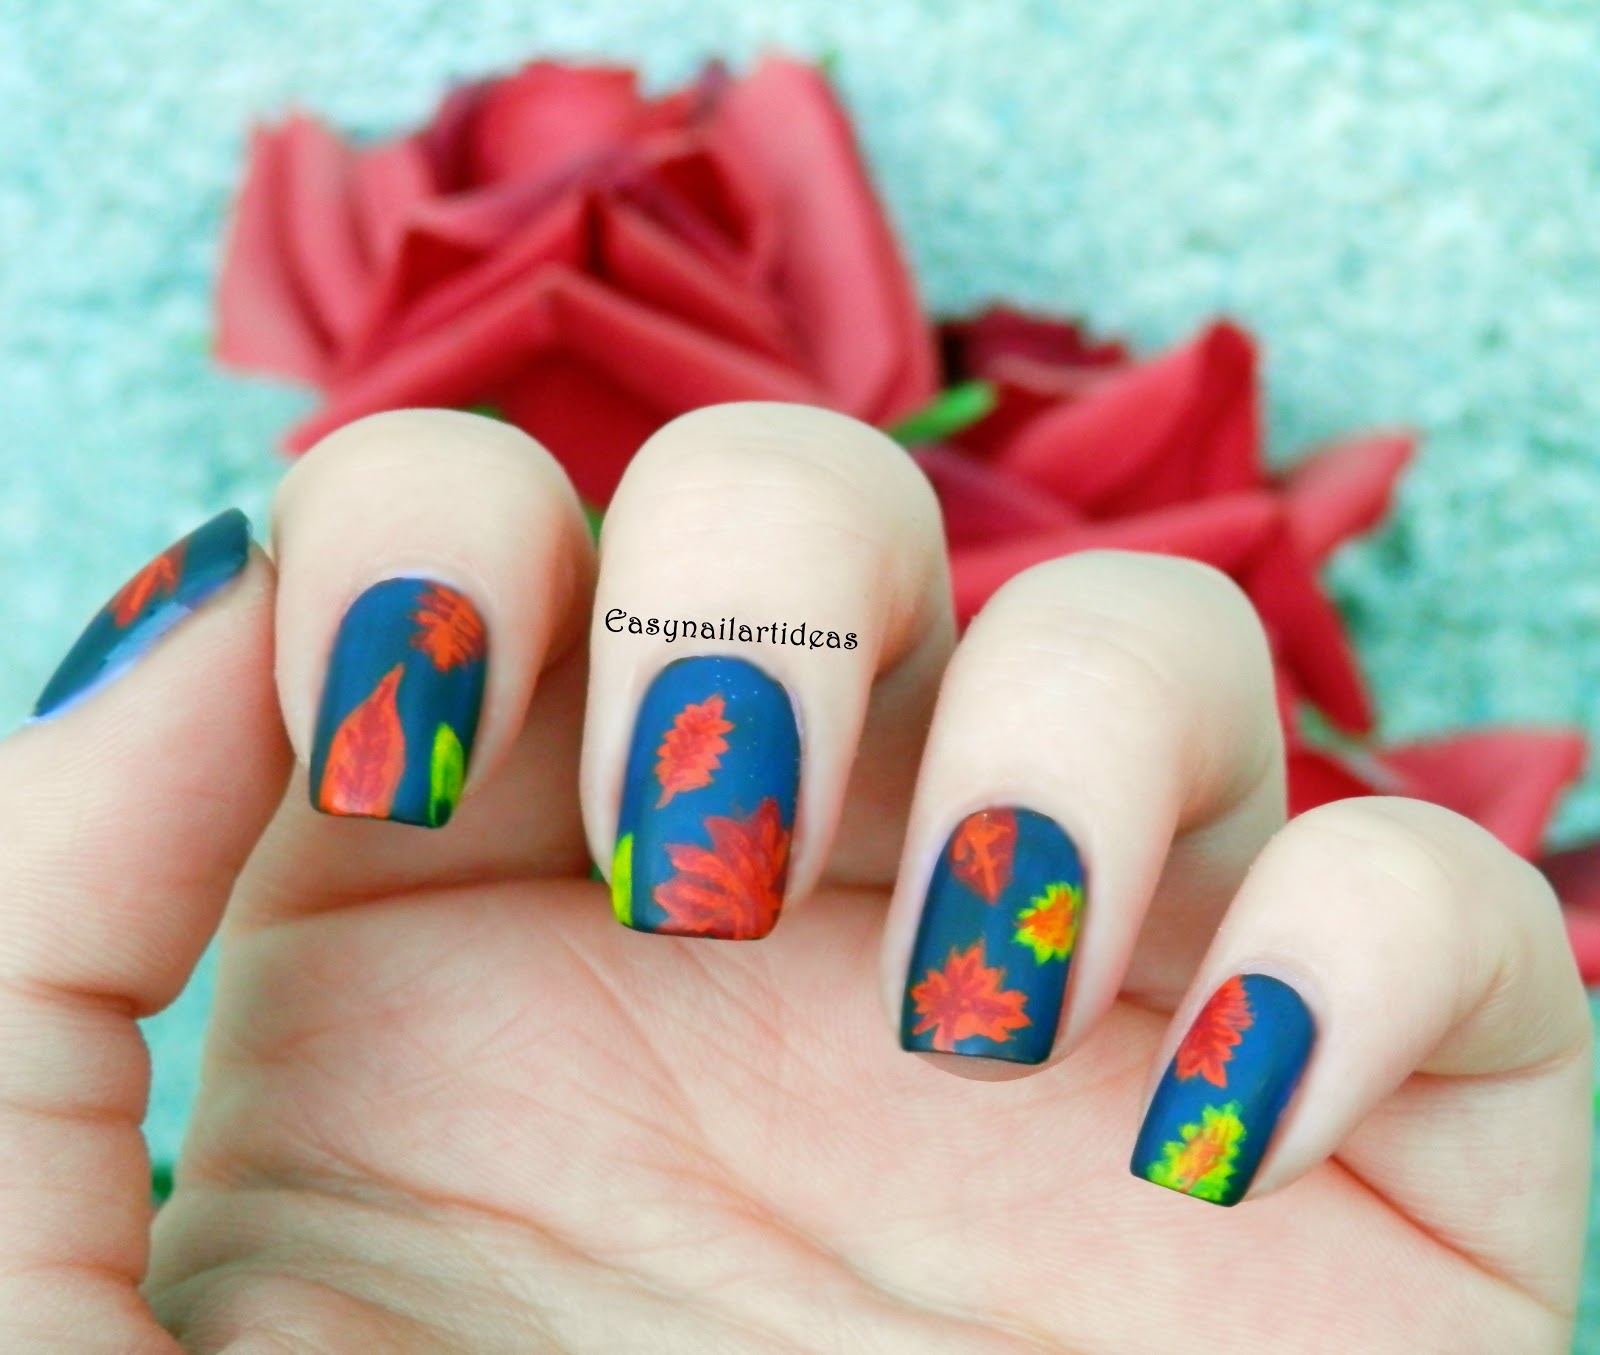
I've made a little nail art over this gorgeous blue using nail vinyls from Svenja's Nail Art.
They retails for 2,80 euros and you can find them HERE!! 

Napravila sam i nail art koristeći naljepnice za nokte od Svenja's Nail Art.
Naljepnice koštaju 2,80 eura i možete ih naći OVDJE!!


I love these vinyls because they're easy to work with and they make perfect designs! The only thing you have to be careful about is to make sure your base polish ( in my case Magic Croisette) is completely dry before you start to work with the vinyls !!

Volim ove naljepnice jer se lako s njima radi i naprave savršen dezen! Jedina stvar na koju trebate paziti je da vam donji/bazni lak (u mom slučaju  Magic Croisette) bude potpuno suh prije nego što počnete koristiti naljepnice!!
  
inside with a flash 


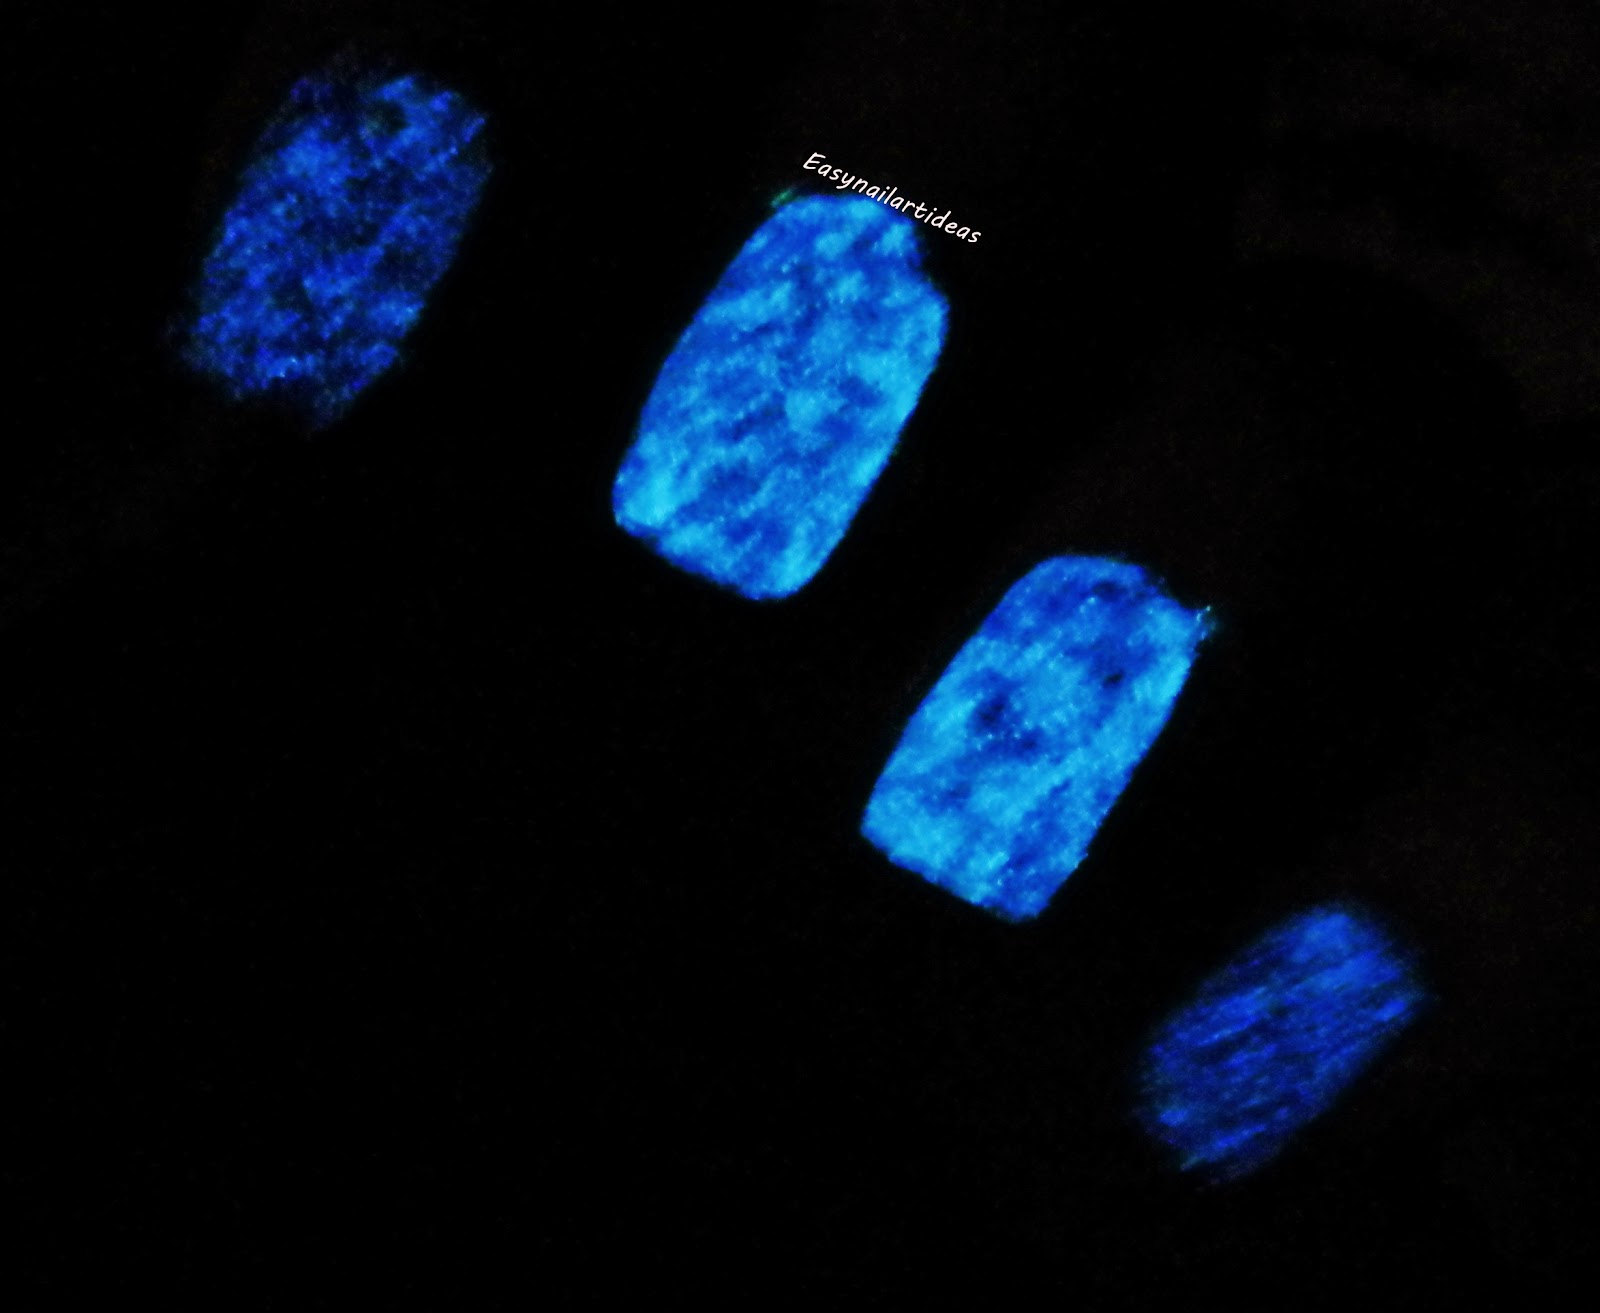
I've used O.P.I's It's Frosty Outside liquid sand for the stars =)
It's my favorite textured polish!!! 

Koristila sam  O.P.I - It's Frosty Outside, liquid sand za zvijezde =)
Moj najdraži teksturalni lak za nokte!!! 


Overall I love this polish from L'Oreal and would recommend  it to everyone, if you find it buy it lol
I really like the final manicure done with Svenja's vinyls also, love those too ;))
What do you think?? 

Sve u svemu, super mi je ovaj  L'Orealov lak i preporučila bih ga svima, ako ga nađete kupite ga!! 
Sviđa mi se i kako je ispala manikura sa Svenjinim naljepnicama, super su mi ;)) 
 Što vi mislite?

Thank you for reading, don't forget to find me on
 Till the next time xoxo  

Hvala na čitanju, ne zaboravite me naći i na
Do slijedećeg puta xoxo  


Thursday, December 11, 2014

O.P.I - The Spy Who Loved Me = The most gorgeous red polish / Najljepši crveni lak

 Today I wanted to share with you this polish that I have for over a year. It's The Spy Who Loved Me by O.P.I , released as a part of  holiday 2012. Skyfall collection.

Danas sam željela podijeliti sa vama jedan lak kojeg imam već više od godinu dana. Zove se The Spy Who Loved Me (špijun koji me volio) od O.P.I , dio je njihove blagdanske Skyfall kolekcije iz 2012.


Sorry for the white accent - but this is actually a base for my new nail art.

Ispričavam se za ovaj bijeli accent - ovo je zapravo baza za moj novi dizajn. 


The Spy Who Loved Me is bright red, packed with golden shimmer. The formula is great, reaches full opacity even with 1 coat, second coat builds up the shimmer but the color stays the same! Dries quickly and because of it's gorgeous shimmer this is my all time favorite holiday red!

The Spy Who Loved Me je jarko crveni lak sa zlatnim zrncima. Formula je odlična, kompletno prekriva već sa prvim slojem, sa drugim slojem se poveća svjetlucavost ali boja ostaje ista! Brzo se suši i zbog svog predivnog zlatnog svjetlucajućeg efekta postao je moj omiljeni blagdanski lak za nokte!


 what do you think about this polish? Do you own something similar?

Što mislite o ovom laku? Imate li neki sličan? 

Thank you for reading, don't forget to find me on

 Till the next time xoxo  


Hvala na čitanju, ne zaboravite me naći i na

 Do sljedećeg puta xoxo

Tuesday, December 2, 2014

Goodbye Fall 2014. design!

Hello my friends, how are you doing? Today I'll show you last fall design that I did for this year. The temperature is getting lower everyday and snow is just about to come (in my country at least), so it's about time to say goodbye to fall and leaves and say hallo to snowflakes, snow and Christmas :D
What's the best way to say goodbye to fall then to do a nail art ;)) 


For this design I've used:

China Glaze - Dare To Be Bare 
O.P.I - Goldeneye  
Water decals from Moon Sugar Decals 
Essie - Good To Go top coat

First I've applied 2 coats of Dare To Be Bare, I waited for that to dry a little and then I put Goldeneye on the tips. For the best effect wipe almost all the polish from the brush and then apply small amount little above the center of your nail! Apply more polish on the tips so you get gradient glitter effect!


DARE TO BE BARE by China Glaze is a perfect milky color that I've been searching for a while now. I used 2 thin coats in the photos above! I think it can reach full opacity with 3 coats. 
It's perfect for french manicures or for the natural clean look! I love it!!


After my base dried out completely I applied water decals from Moon Sugar Decals.
They have over 150 different types of decals to chose from!
This ones retails for $3,99 for the whole sheet, shipping is free in the US and $2.99 for the rest of the world! 
You can check it out HERE!  

Autumn fall decals are perfect in shape and colors! As for any other water decals, you have to cut the desired image, put it into the water (room temperature) and wait for about 10-20 seconds until the image starts to separate from the white paper base!
Then you transfer it on the nail and, for this ones, you have to press and hold for a while. I've noticed that the best thing to do that is to take a peace of paper towel and press with that for about 30 seconds! 
After that, apply your favorite top coat and that's it! Perfect mani is done!!


They kinda look like real small leaves :D


 This was my goodbye from the fall 2014. 
I hope you liked the design and you'll try it someday :D

Thank you for reading, don't forget to find me on

 till the next time xoxo

Tuesday, November 18, 2014

LEAVES MATTE NAIL ART

Although there are a lot of winter manis out there I'm still in my fall mood so today, I'm gonna show you another fall themed nail art.


For the base I've used Vino tinto ( italian for dyed wine)  by Catrice, it's actually dark brownish polish with burgundy/red undertone, in pictures is more dark blue, idk why :/ 
I think it can be good alternative to black polish if you want dark nails but doesn't really like black look! 

For the leaves I've used acrylic paint because it's a lot more easier to clean brushes afterwards than when using polish!

I love the roses in the background =) do you?

 This is a nail art that requests a bit more time and patience, but still its not so hard that requests any special skills!!


 I almost forgot to mention that I've used O.P.I's Matte Top coat for this look!

What do you think? Did you like it?

Thank you for reading, don't forget to find me on

Till the next time xoxo    


Monday, October 13, 2014

Easy nail art step by step tutorial

Hello guys!! Hope you had a great weekend =)
I think it's about time for me to write another nail art post. This time I'm gonna show you one of the quickest and easiest designs I've done so far.
For this design you won't be needing any particular nail art tools or skills. The only things you will be needing are some nail polish and a toothpick!!


To be honest, I wasn't inspired by anything or anyone for this design. It's a product of my laziness actually lol . One day I was thinking how I should do my nails, but I wasn't in the mood for something complicated and I didn't had time for that! So I taught I'll just paint them in one color, no nail art, and that's it.
But when I started to paint them I tought I should try to do some kind of swirls with a toothpick and see how it come out!!
So I did and I quite liked it, so I decided to do it on my other nails and make a tutorial out of it =D


The blue polish I've used on my thumb, index and pinky finger is I SAW...U SAW...WE SAW... WARSAW by O.P.I. This one is from their Spring 2013 Euro Central collection, but I bought it just recently for 50% of in Sephora!! I bought most of my O.P.I's on some kind of discounts or on eBay where they're like 30-40% cheaper than in my local stores (new collections)!
And I added some nail studs for Born Pretty Store (REVIEW), if you don't have anything similar, you can ad some dots or just one or leave it as it is!

I painted my middle and ring finger white, I've used Essie's Blanc and I leave it to dry almost completely!
After that I've put random dots (using the nail polish brush), over the white base. It's not important how the dots look at this point, they don't have to be perfect or anything like that!
For the dots I've used :
 I SAW...U SAW...WE SAW... WARSAW by O.P.I. (dark blue)
HE BLUE IT THIS TIME! by O.P.I (middle blue)
CRUSH by GOTHIC GALA LACQUERS   (light/pastel/baby blue) - REVIEW 
You can use any colors you like. I decided to go with 3 different shades of blue!

As soon as I've finished making a random dots, I took toothpick and just made a swirling movements combining the dots. I've continued to do this until I was satisfied with the results.
At the end I just added some top coat ( Essie's Good To Go!) and that was it :D


 This is actually the design I've mentioned in my last post about glow in the dark polishes. I've applied Glow Blue top coat over it and came out with this :


 I love, love, love these glow in the dark top coats, they're absolutely stunning :D
If you want to know more about them GO HERE!

I hope you liked this design as much as I did and you'll try it sometime (that would be awesome)

You can also find  me on Bloglovin', InstagramFacebook and Twitter  

Till the next time xoxo