I think it's about time for me to write another nail art post. This time I'm gonna show you one of the quickest and easiest designs I've done so far.
For this design you won't be needing any particular nail art tools or skills. The only things you will be needing are some nail polish and a toothpick!!

To be honest, I wasn't inspired by anything or anyone for this design. It's a product of my laziness actually lol . One day I was thinking how I should do my nails, but I wasn't in the mood for something complicated and I didn't had time for that! So I taught I'll just paint them in one color, no nail art, and that's it.
But when I started to paint them I tought I should try to do some kind of swirls with a toothpick and see how it come out!!
So I did and I quite liked it, so I decided to do it on my other nails and make a tutorial out of it =D

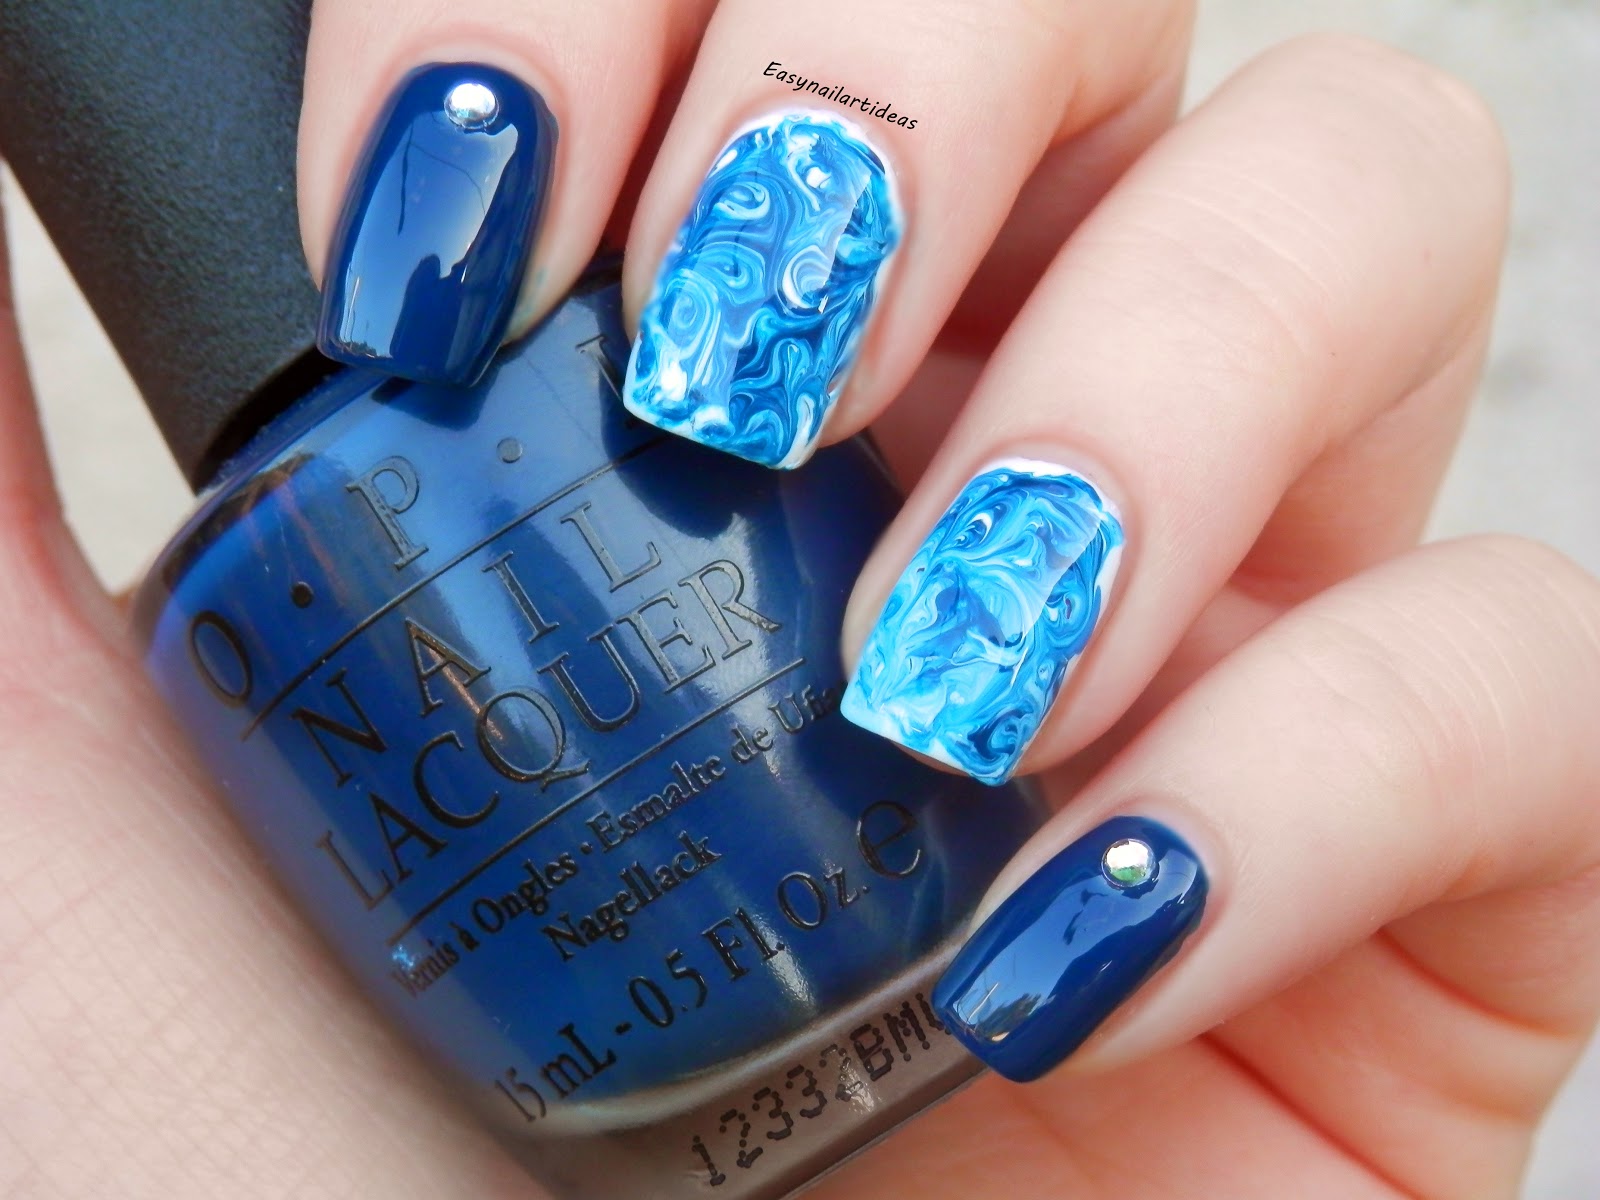
The blue polish I've used on my thumb, index and pinky finger is I SAW...U SAW...WE SAW... WARSAW by O.P.I. This one is from their Spring 2013 Euro Central collection, but I bought it just recently for 50% of in Sephora!! I bought most of my O.P.I's on some kind of discounts or on eBay where they're like 30-40% cheaper than in my local stores (new collections)!
And I added some nail studs for Born Pretty Store (REVIEW), if you don't have anything similar, you can ad some dots or just one or leave it as it is!
I painted my middle and ring finger white, I've used Essie's Blanc and I leave it to dry almost completely!
After that I've put random dots (using the nail polish brush), over the white base. It's not important how the dots look at this point, they don't have to be perfect or anything like that!
For the dots I've used :
I SAW...U SAW...WE SAW... WARSAW by O.P.I. (dark blue)
HE BLUE IT THIS TIME! by O.P.I (middle blue)
CRUSH by GOTHIC GALA LACQUERS (light/pastel/baby blue) - REVIEW
You can use any colors you like. I decided to go with 3 different shades of blue!
As soon as I've finished making a random dots, I took toothpick and just made a swirling movements combining the dots. I've continued to do this until I was satisfied with the results.
At the end I just added some top coat ( Essie's Good To Go!) and that was it :D

This is actually the design I've mentioned in my last post about glow in the dark polishes. I've applied Glow Blue top coat over it and came out with this :
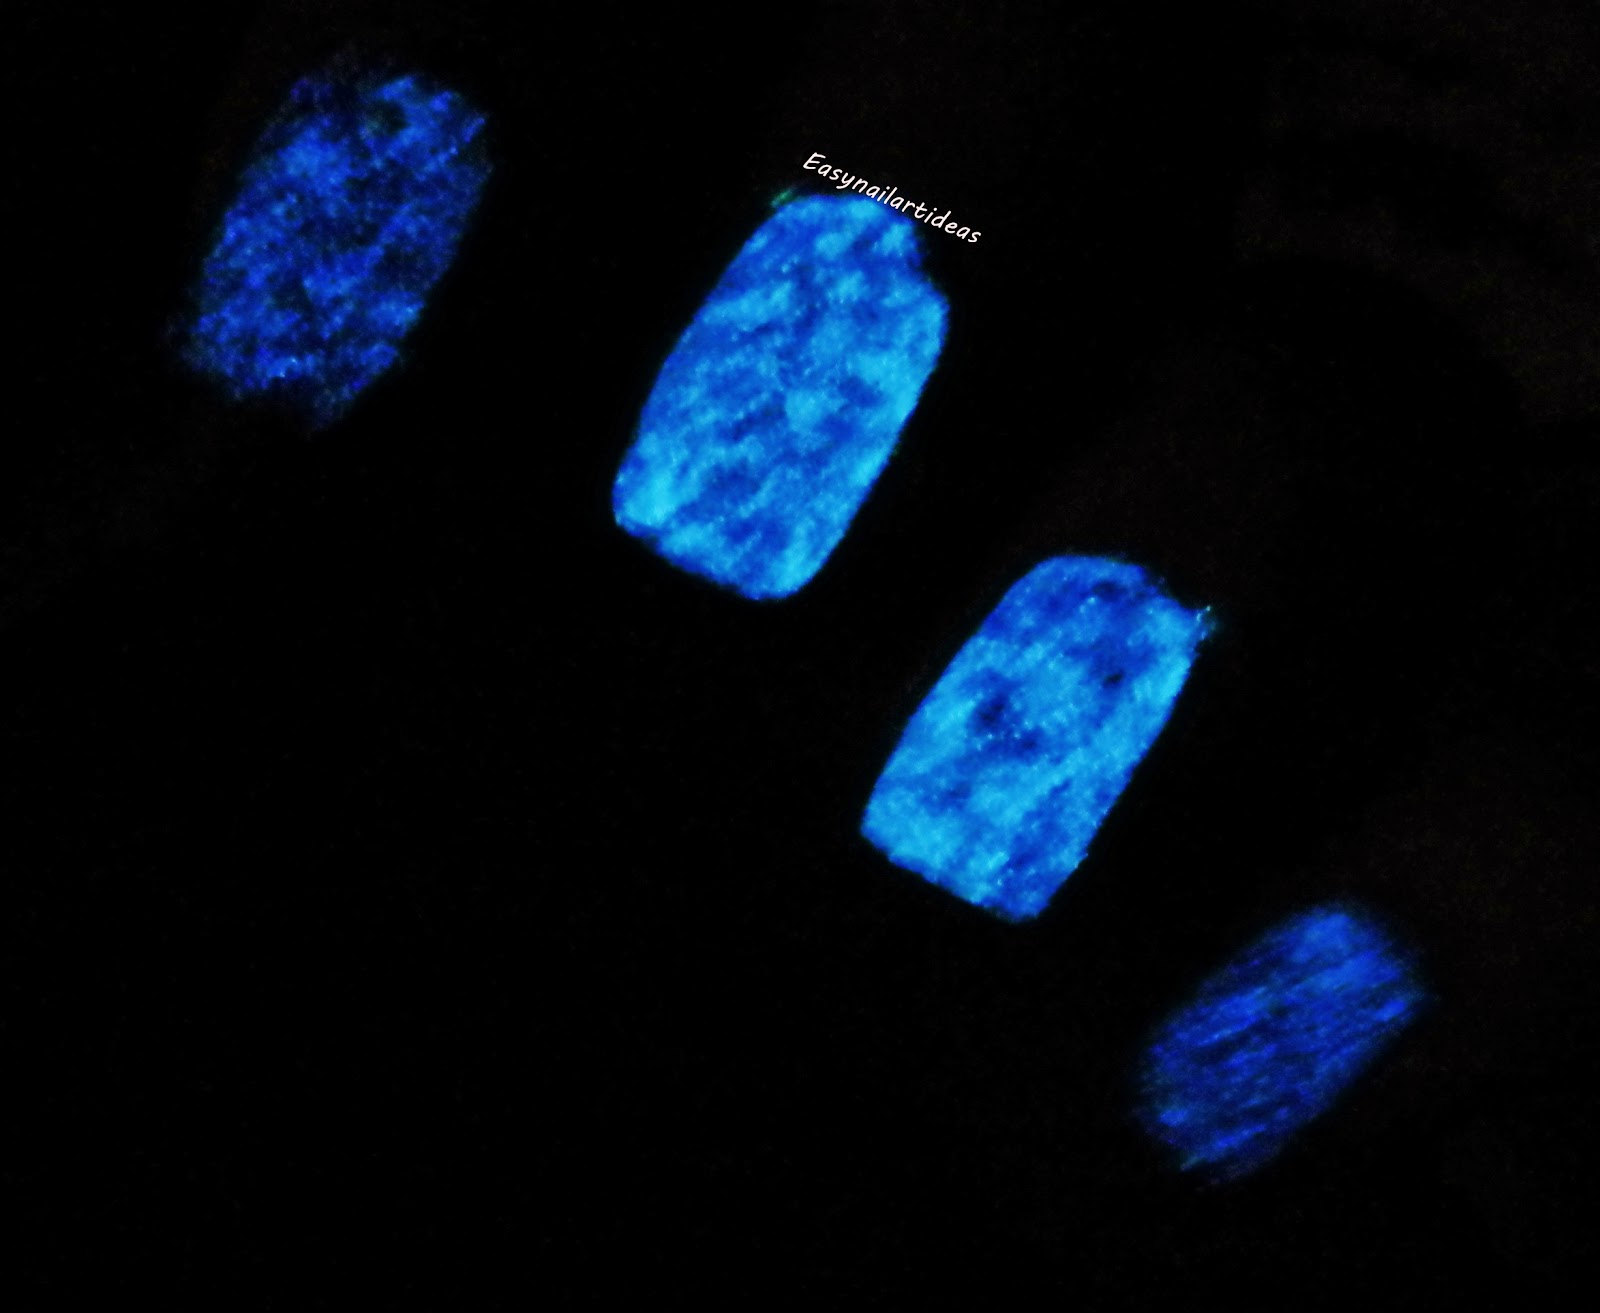
If you want to know more about them GO HERE!
I hope you liked this design as much as I did and you'll try it sometime (that would be awesome)
You can also find me on Bloglovin', Instagram, Facebook and Twitter
Till the next time xoxo
zanimljiva i lijepa manikura
ReplyDeleteHvala ti :)
Deletelijepa manikura :D
ReplyDeleteprekrasan mi je ovaj plavi OPI :)
Hvala ti :)
DeleteI meni je ovaj lak baš divan <3
Izvrsno! Probala sam ovo raditi, ali predosjetila sam da će ispast fijasko pa sam ipak probala prvo raditi na foliji. Naravno da sam bila u pravu - ispalo je totalno bzvz i nisam na kraju niti htjela prebacivati na nokat. Kako sam vukla čačkalicom, tako mi je ostajao trag bez laka. U čemu je stvar, ne kontam. A kod tebe tako divni swirlsi! :)
ReplyDeletePa ja sam ostavila da se baza (u mom slučaju bijeli lak) skroz osuši i kad sam radila sa čačkalicom pazila sam da ne stisnem jako, jer bi mi inače isto ostao trak bez laka... i stavljala sam bas kapljice tako da imaš Šta za razvući :D
DeleteProbaj tako pa mi javi ako si uspjela :))
utisak je fenomenalan ! moram sebe da nateram da probam ovutehniku.(nije mi dobro kad vidim kod tebe glow in the dark boje :D
ReplyDeletepozrdav
Hehe... tehnika je zbilja jednostavna samo moraš pazit da ne pritisnes jako sa čačkalicom! A za glow in the dark nemam riječi osim da su TOP
Delete