Search This Blog

Showing posts with label #stepbysteptutorials. Show all posts

Monday, September 8, 2014

Tiffany's blue box inspired nail art + tutorial

Hello my polish friends =) I was planing to do this post for a days now but I was just lazy to do it on the weekend ..so here it is (finally)

As you can probably tell from the title this is going to be my version of famous Tiffany's blue box design!

This is what Tiffany & co. says about it: "Crowned with a white ribbon, the Tiffany Blue Box is an international symbol of style and sophistication. " 
and I agree!! (although I don't own anything from them :( ) 


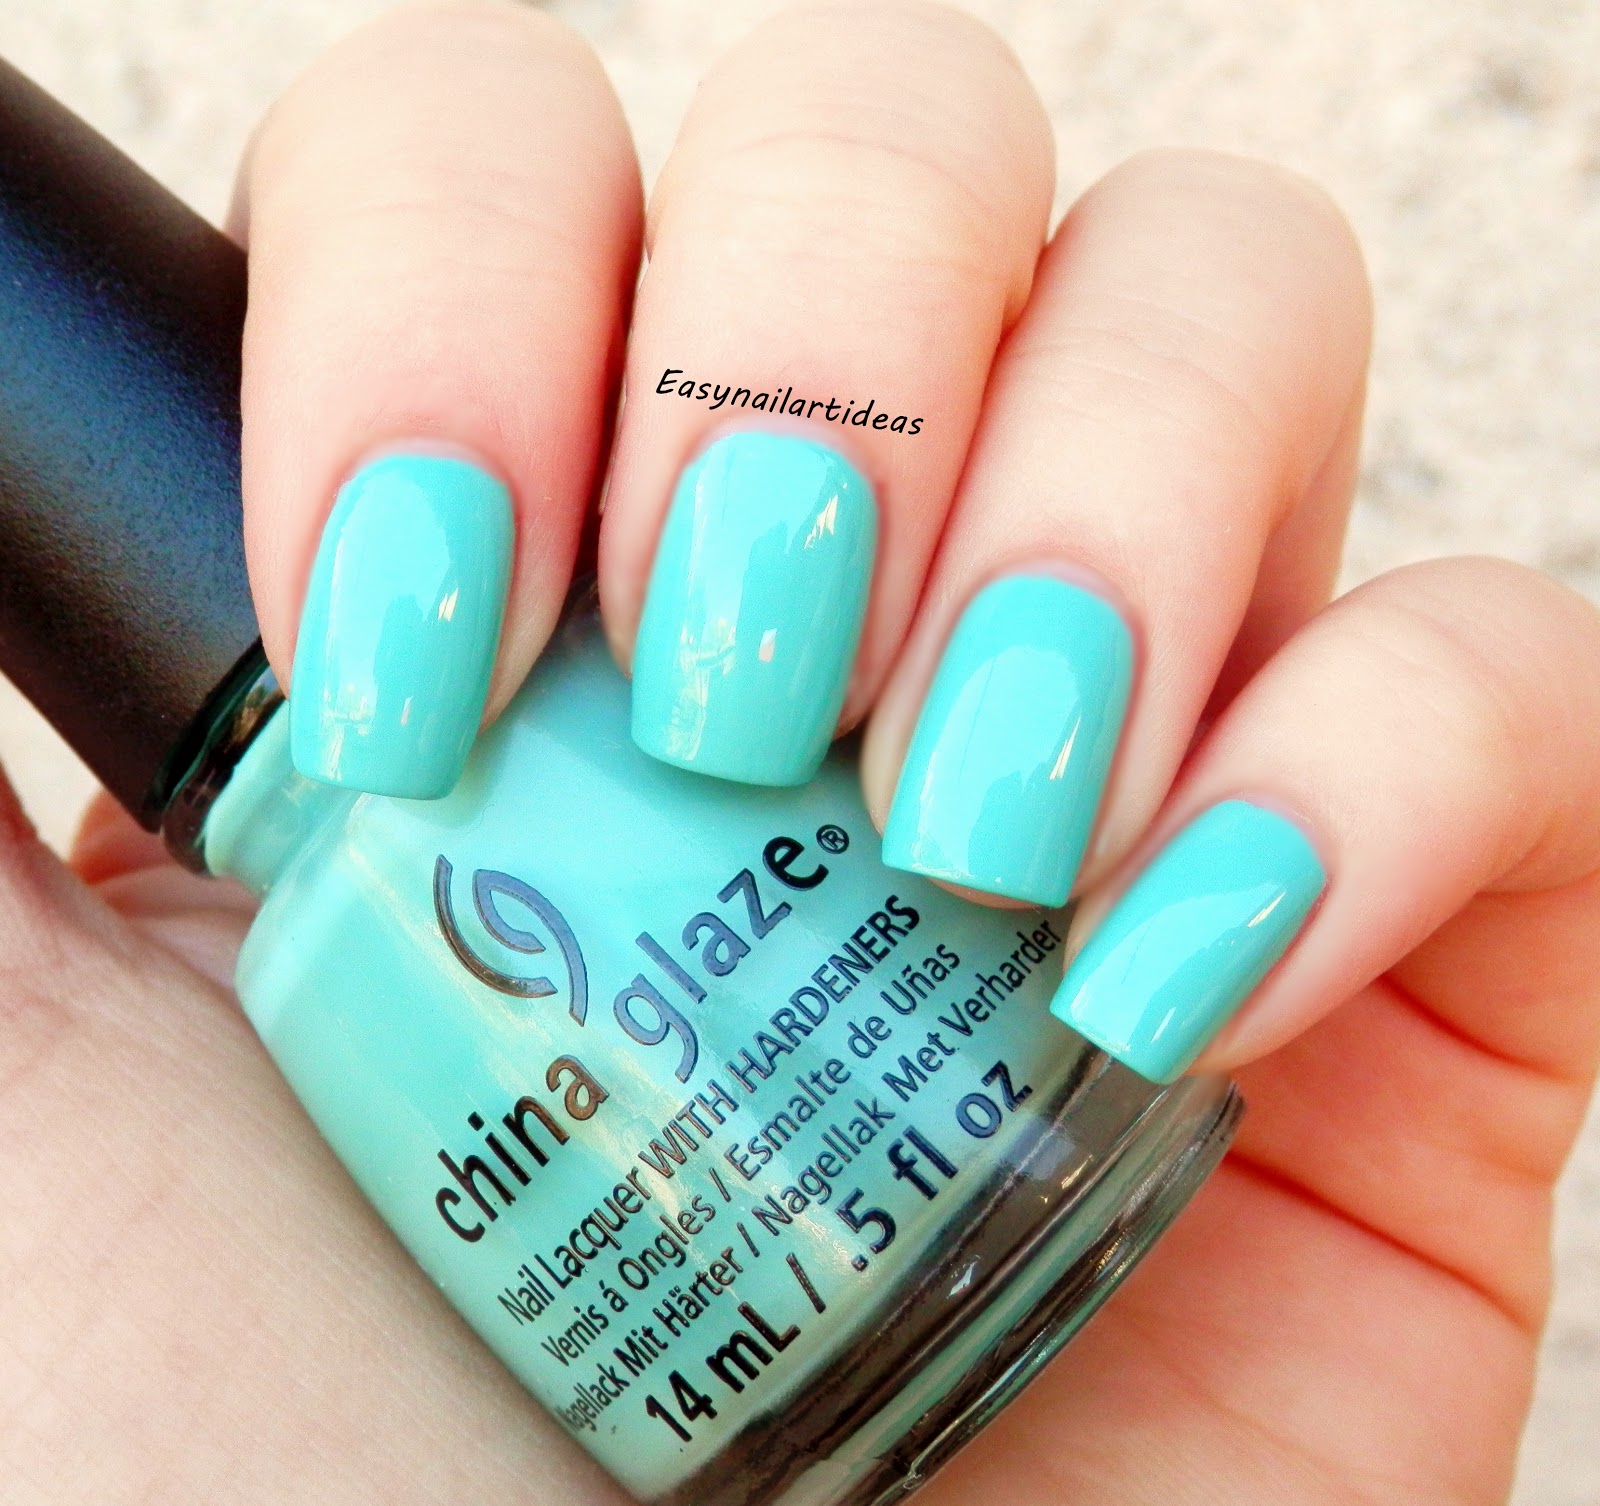
The inspiration for this design came from my very first and only (so far) China Glaze nail lacquer called For Audrey


For Audrey is a beautiful creamy polish that reaches full opacity in 2 thin coats. Formula is outstanding which makes application so smooth and easy. It's a perfect Tiffany blue color.
If you're in search for the perfect China Glaze polish then definitely consider this one (if you don't already own it).
Here are the swatches ( 2 coats, no top coat)


 And now let me show you how I did it..


 1 painted my nails with For Audrey (2 coats)
2 placed the tape
3 painted inside of the tame with Alpine snow by O.P.I (white)
4 made a bow using a small dotting tool and placed little nail ring =)

Easy right?

Hope you've enjoyed todays design and tutorial. Until next time xoxo

Tuesday, August 26, 2014

Back to school nail art tutorials

Hello guys =) how are you doing?
Since the school is just about to start I decided to do 2 easy designs that I taught will be cool for going back to school (rime lol)

First design is actually very popular and I was planing to do it for like a year now .
It's Argyle inspired nail art!


Recently I bought 2 O.P.I polishes from the coca-cola collection on eBay and I immediately  think of this design when I saw them. I will be posting review for them soon so stay tuned!

So how I did it?!
...


 1 I painted my nails with silver polish
2 I put striping tape in X shape, I've bought mine on eBay for like a 1$ ( lot)
3 I painted one side of X in black and other in this peachy-pink color
4 I've immediately removed stripes after step 3 ( don't wait until the polish dries)
5 and 6  I've used a white striper to do the lines, to complete the design.
at the end I've added a top coat and that's it =)


For second design I was inspired by my notebooks. I always scribble something when I'm bored =)


 This one is even easier then first one.


1 paint your nails white then make blue stripes with nail striper
2 make coral/red stripe across the blue ones
3 on this step you can make pretty much what ever you want with black striper or toothpick =)

and that's it =)))


These are my 2 easy back to school designs =) hope you've liked them and you'll try them =)

don't forget to follow me on Bloglovin', Instagram, Facebook and Twitter